Welcome to
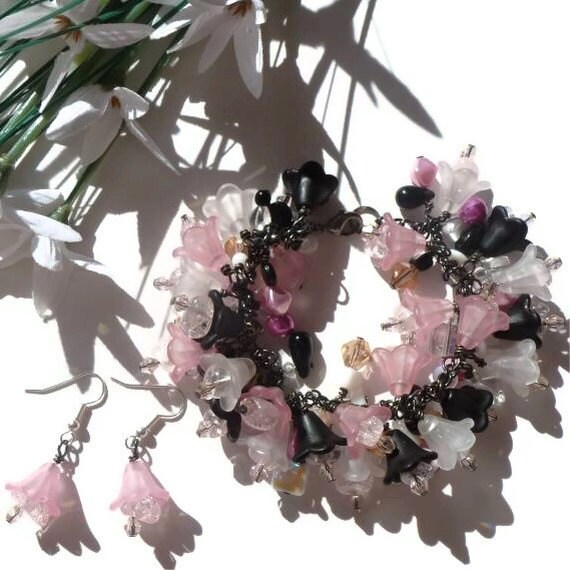
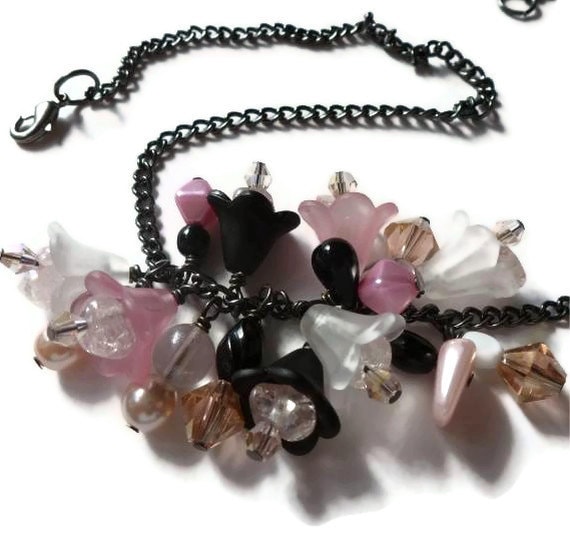
Handmade Monday! This week I have been making chain and ribbon bracelets, it’s a new technique for me and I thought I would write a sort of tutorial to show you what I did and leave myself a record to look back on. It is really easy and I think it is quite effective, I have lots of different ideas using different coloured ribbon and chain, I think I will be visiting my local haberdashery shop very soon!
You will need..
A length of chain (enough to go around your wrist) Make sure the links are big enough to pass the ribbon through.
A length of ribbon. I used a piece a good few inches bigger than the chain.
A clasp of your choosing.
Jump rings
Charms
The usual jewellery making tools ( I used flat and chain nosed pliers and memory wire cutters)
Method
1.
Cut a length of chain long enough that it will fit around your wrist. I found when making the bracelets that the chain seemed to bunch up a little as I threaded the ribbon through so you may want to add a cm or so extra but don't forget that you will be adding a clasp. It may be better to add the ribbon until you get to your desired length then cut the chain. Do whatever you find easiest. I used memory wire cutters to cut the chain.
2
Tie the ribbon to one end of the chain. You can add a dot of glue to the knot when you have finished the bracelet to make it extra secure. I didn't have any glue so used clear nail varnish which seemed to work just as well.
3
Start to weave the ribbon through the links of the chain. You may find it easier to thread the ribbon onto a needle ( a darning needle would be ideal) just make sure the eye can pass through the links. I spent ages looking all over the house for my big needle only to realise that it wouldn't fit. Frustrating!
4
After all that threading, have a rest and a cup of tea. When you have finished your brew, tie the ribbon to the end of the chain.
5
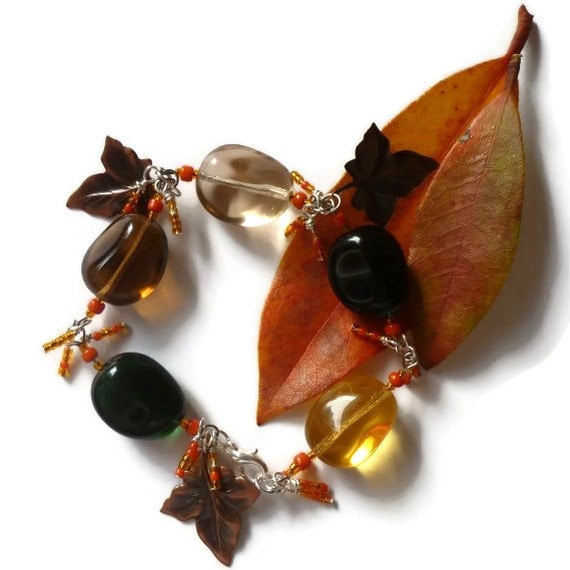
Add your clasp, I had a nature theme in mind so chose a clasp with a flower and leaf design.
6
Set your charms out where you think they would look good. I think this is much easier than adding them as you go and then realising you don't like the look, but use your own preferred way of working.
7
Try not to drop your bag of jump rings.There are a good few hundred in there and I am still picking them out of the carpet. Rarrrrr!
8
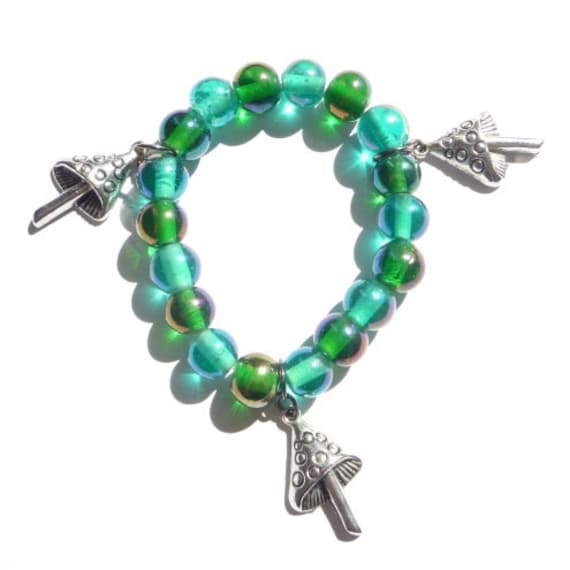
Add the charms to the bracelet using the jump rings and there is is- the finished bracelet. There are loads of different colours you could use and different charms too.
Have a great week!
 Will keep you warm!
 A pretty set of bottles.
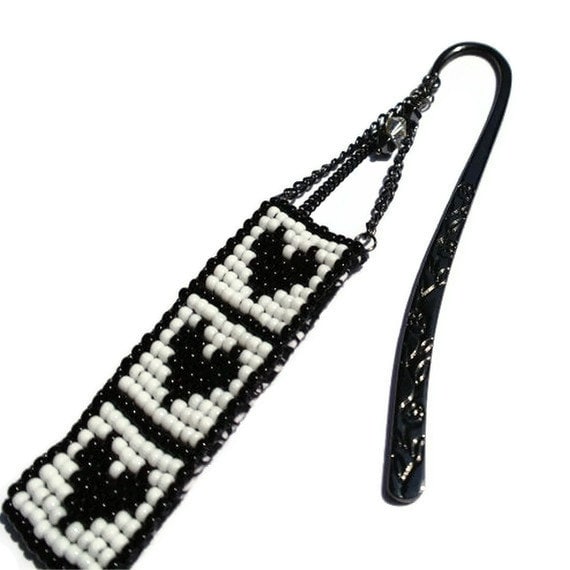
 A handmade pen.
 A very cute mouse pillow.
 An unusual paper necklace.
 Cheerful Viola's
 Beautiful flower earrings.
 A very cute cushion cover.